Custom Magnetic Snap Closure: Quick Access Branding for Pet Carriers
A custom magnetic snap is the fastest-operated closure available on a pet carrier and the only one that can be branded on the cap: a logo snap with a specified plating costs USD 0.55 to 2.10 per unit at 500 pieces. It opens in roughly 0.8 seconds against 2.4 seconds for a buckle and 3.1 seconds for a zipper, which is the entire commercial argument for it.
Executive summary
Speed is a product feature, and on a pet carrier it is a welfare feature as well. Every second an owner spends fighting a closure is a second an anxious animal spends waiting, and the closure that opens fastest is the one that gets used most gently. A magnetic snap wins that comparison on every measure, and it is the only closure that can carry a mark on the part the hand actually touches.
Customising it means three things: a branded cap, a plating colour that belongs to the brand, and a pull force tuned to the panel rather than chosen from a catalogue. Those three turn a hardware component into a signature, and unlike a print they do not degrade, because the mark is in metal rather than on fabric.
Terms are constant across our programs: MOQ 500 pieces per colourway, samples in 6-10 working days, bulk production 35-50 days after approval, and AQL 2.5 inspection on every shipment. Our production team specifies and validates snap hardware at an SGS-verified production base audited to BSCI and ISO 9001, and hardware verification is supported by SGS third-party testing under a quality system aligned with the ISO 9001 standard.
A custom pet travel bag has to reconcile two limits at once: the airline under-seat envelope and the ventilation the animal actually needs.
Speed as a Design Specification
Closure speed is measurable and it is almost never measured. We time it: the interval from the hand touching the product to the opening being usable, averaged over ten operators who have not seen the product before. A zipper with a garage takes about 3.1 seconds. A side-release buckle takes about 2.4 seconds. A magnetic snap takes about 0.8 seconds, and a snap on a panel that self-locates takes less.
Those numbers matter more than they look. A closure is operated several times a day for years, so the difference between 0.8 and 3.1 seconds is measured in hours of a customer's life, and customers are accurate about cumulative friction even when they cannot name it. In review data this shows up not as complaints but as absence of praise, which is the harder problem.
There is a second, less obvious consequence of a fast closure: it gets closed. A closure that is annoying to operate gets left partly open, and a carrier left partly open is a carrier that has failed at its only essential job. Designing for speed is therefore a safety decision disguised as a convenience decision, and it is the strongest argument we make for a snap on a frequent-access panel.
The counterweight is holding force, and it should be stated honestly. A snap is faster because it is weaker. On a panel that nothing pushes against, that trade is clearly correct. On a primary opening, the snap should be the convenience layer and something mechanical should be the security layer, and the two should be specified together rather than chosen independently, because the whole product reads as considered only when the two mechanisms have clearly different jobs.
Where quick access belongs on the product
Put the snap where the hand goes most often and the mechanical closure where the security matters most. In practice that means a snap on the outer pocket and the daily access panel, and a zipper or buckle on the primary opening. A product with one snap and one mechanical closure, each with a named job, feels designed; a product with snaps everywhere feels light.
Anatomy of a Snap and Which Part Gets the Mark
A magnetic snap assembly has four parts and only one of them is worth branding. There is the cap, which is the visible face on the outside of the panel. There is the magnet or the steel element inside. There is the socket on the mating panel. And there is the washer or backing plate behind, which is what stops the assembly pulling through the fabric.
The cap is the brand surface and it is the only one a customer ever sees. It can be etched, laser marked, stamped or debossed, and it can be plated in almost any finish. It is small, typically 14 to 20 millimetres in diameter, which means the mark has to be simple: a monogram, a symbol, or a very short wordmark at a stroke width above 0.4 millimetres.
The socket is the part that gets ignored and the part that causes the most assembly problems. It has to be set perfectly square to the cap or the snap will not seat, and on a soft panel it needs a backing plate to stop it rotating. A snap that has rotated three degrees looks like a manufacturing fault to a customer, and it is usually a setting problem rather than a component problem.
The backing plate is worth specifying properly because it does two jobs. It spreads the pull force across the fabric, which prevents the snap tearing out, and it prevents print-through, which is the visible ring a snap makes on the face of a thin panel. Both are cheap to achieve and both are expensive to discover missing.
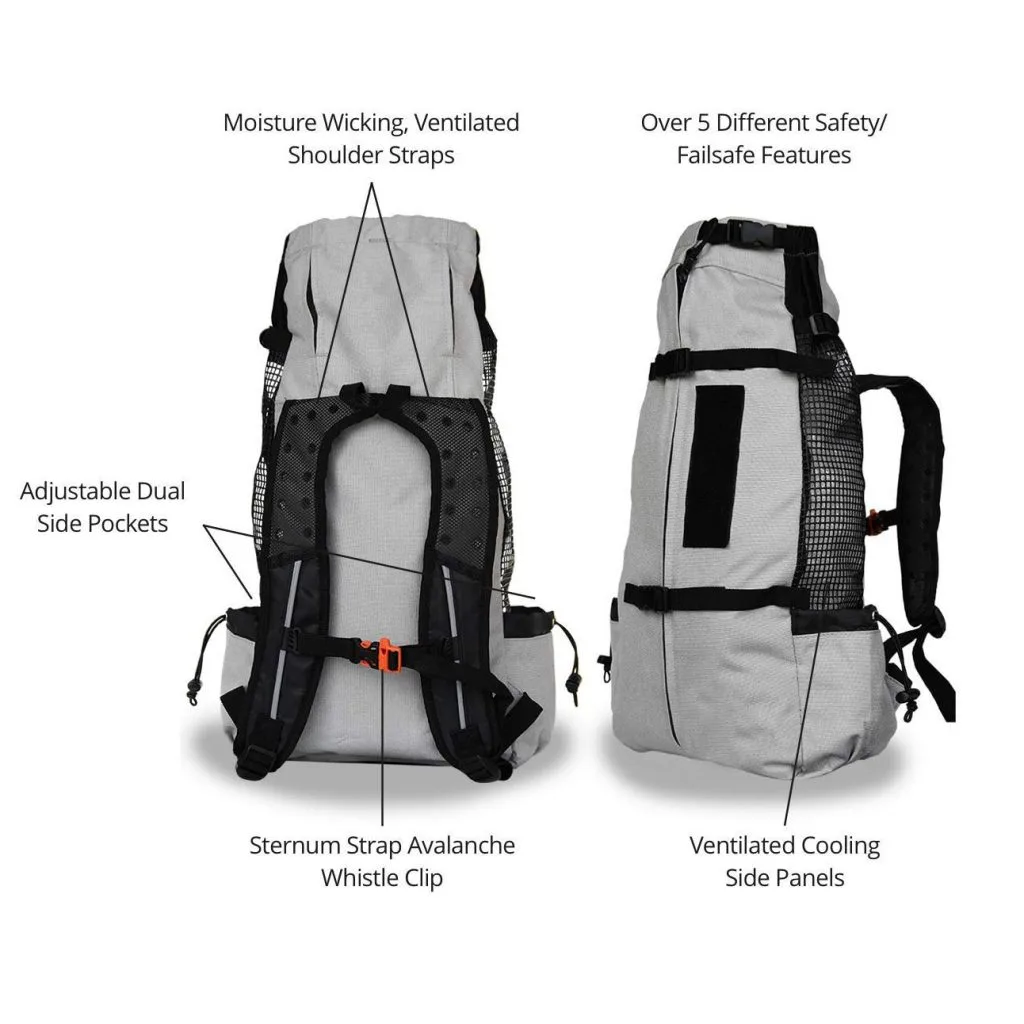
Cap sizes and what each one can carry
Cap diameter is the constraint that shapes every branding decision, and it is worth choosing deliberately rather than accepting the stock size. At 12 millimetres the cap reads as a discreet detail and will carry a symbol but not a wordmark. At 14 to 16 millimetres, which is the working default, a monogram or a two-letter lockup is comfortable. At 18 to 20 millimetres a short word becomes legible, and the snap starts to read as a design feature rather than as a fastening.
Larger is not automatically better. A 20 millimetre cap on a small pocket dominates the panel and it needs proportionally more reinforcement behind it, which stiffens a pocket flap that should stay soft. The right size is the smallest one that carries the mark legibly, and that is usually 14 or 16 millimetres.
Plating, Colour and the Finish System
Plating is where a snap stops being hardware and starts being a brand component. The standard finishes are nickel, which is bright and neutral; gunmetal, which is dark and technical; antique brass, which is warm and heritage; and black nickel, which reads as modern and slightly severe. Each of them says something different about the brand, and the choice should be made with the same care as a typeface.
Durability varies by finish and it is worth knowing before choosing. A standard nickel plating is hard and long-wearing. Gunmetal and black nickel are coatings over a base metal rather than solid colours, and they wear at the high points first, which produces a genuinely attractive worn edge on some products and a shabby one on others. Antique brass is a deliberate patina, which means it is the only finish where wear improves the appearance rather than degrading it.
The system matters more than the individual finish. A snap should be plated to match the other visible hardware on the product: the puller, the buckle, the eyelets, the feet. A mismatched set is one of the most common and most avoidable signs of an assembled product, and it is entirely a specification issue rather than a cost issue.
| Finish | Brand voice | Wear behaviour | Cost index | Notes |
|---|---|---|---|---|
| Polished nickel | Neutral, modern | Very durable | 1.0 | Safest default |
| Gunmetal | Technical, urban | Wears at high points | 1.2 | Suits dark shells |
| Black nickel | Sharp, contemporary | Wears at high points | 1.2 | Show fingerprints |
| Antique brass | Heritage, craft | Improves with wear | 1.3 | Best on leather |
| Matte chrome | Utility, clinical | Durable, marks easily | 1.1 | Suits medical positioning |
Matching hardware across a supplier set
Different components come from different suppliers, and each supplier has its own version of gunmetal. The only reliable control is a physical hardware card: every metal component on the product mounted together and approved as a set. We produce one for every program and refer to it at inspection, because a component approved alone will always match itself and may not match anything else.
Tuning Pull Force to the Panel
Pull force on a snap should be specified by the panel it sits on, not by the component catalogue. A snap on a light pocket wants 4 to 8 newtons, which is enough to stay closed in a bag and light enough to open with two fingers. A snap on a structured flap wants 10 to 18 newtons. A snap on a panel that has to resist an animal leaning wants 20 newtons and a secondary mechanical catch.
Force is affected by the stack, and this is the specification error we see most often. A snap rated at 15 newtons measured metal to metal will deliver perhaps 9 newtons through fabric, interlining and lining. Specifying the force at the component level and expecting it at the product level produces a closure that feels weak and a debate about whose fault it is.
There is a second variable: the angle of pull. A snap loaded in shear, where the two panels slide against each other, releases at a fraction of its direct pull rating. Pocket flaps load in shear, which is why a pocket snap that tests perfectly in the lab releases in a bag. The fix is either more force or, better, a snap position closer to the hinge where the shear component is smaller.
The third variable is temperature, and it is the one nobody tests. Adhesion and plating behave differently cold, and a snap that is stiff to open at minus 10 degrees is a product that will be abandoned in a winter market. We cold test every snap program sold into a cold climate.

Branding the Cap: Methods and Limitations
Four methods put a mark on a snap cap and they differ in cost, durability and in how fine a mark they can hold. Laser marking is the most precise and the least durable of the four; it is fine for a monogram and it will soften with handling. Chemical etching gives a slightly softer edge, holds fine detail well and is durable under a clear coat.
Stamping, where a die presses the mark into the cap before plating, is the most durable and the best value at volume, because the die is cheap and the mark is in the metal rather than on it. It is the method we recommend for almost every program. Debossing with a filled enamel gives colour in the mark, which is the strongest visual result and the most expensive, and the enamel sits slightly proud of the surface where it will take abrasion.
Size governs everything. At 14 millimetres a cap will hold a monogram or a simple symbol comfortably and a wordmark only if it is very short. At 20 millimetres a two-word lockup becomes possible. Below 14 millimetres, do not attempt a wordmark; a mark that cannot be read is worse than a blank cap, because it reads as a failed attempt.
One design note that pays off: the cap does not have to be round. A rounded square, an oval or a shape derived from the brand mark is achievable with stamping at little extra tooling cost, and a shaped cap at the closure point is a detail customers notice and competitors do not copy quickly.
Designing the mark for a small metal surface
A mark that works on a hangtag will not work on a cap. Type has to be simplified: strokes above 0.4 millimetres, counters opened up so they do not fill with plating, and no hairline detail of any kind. A filled mark reads better than an outline at this size, because an outline is the first thing to disappear under a worn surface.
Orientation matters too. A cap sits on a panel that moves, so a mark that is upright only when the flap is closed will look wrong half the time it is seen. Test the mark at the angle the cap actually presents when the product is opened, not on a flat drawing, because that is the view the customer gets while using it.
Installation, Reinforcement and What Fails
A snap is set through fabric, and the fabric is almost always the weakest part of the assembly. The standard reinforcement is an interlining patch behind the setting area, sized at least 15 millimetres larger than the snap diameter in every direction, plus a backing washer on the reverse. Without both, the snap will pull through a medium-weight shell under a hard pull.
Setting pressure is the second failure cause and it is invisible until it happens. Under-set, the cap works loose within weeks; over-set, the fabric is crushed and the plating cracks at the crimp. Both are equipment settings rather than design issues, which means both can drift through a long production run, and both should be checked by pull test on samples taken from the line rather than from the sample room.
Alignment is the third and the most visible. A cap that is three degrees out of square with its socket looks wrong even when it functions, and on a panel with two snaps the eye catches any difference in spacing immediately. We use a setting jig for any panel with more than one snap, which costs nothing and removes the entire class of defect.
Containment is the safety item and it is unchanged from any magnetic closure: the magnet element must be sealed, with a documented clearance from the interior surface and a pull test on the pocket. A branded cap does not change that requirement, and a program that treats the snap as decorative rather than as a component will eventually ship one that comes loose.
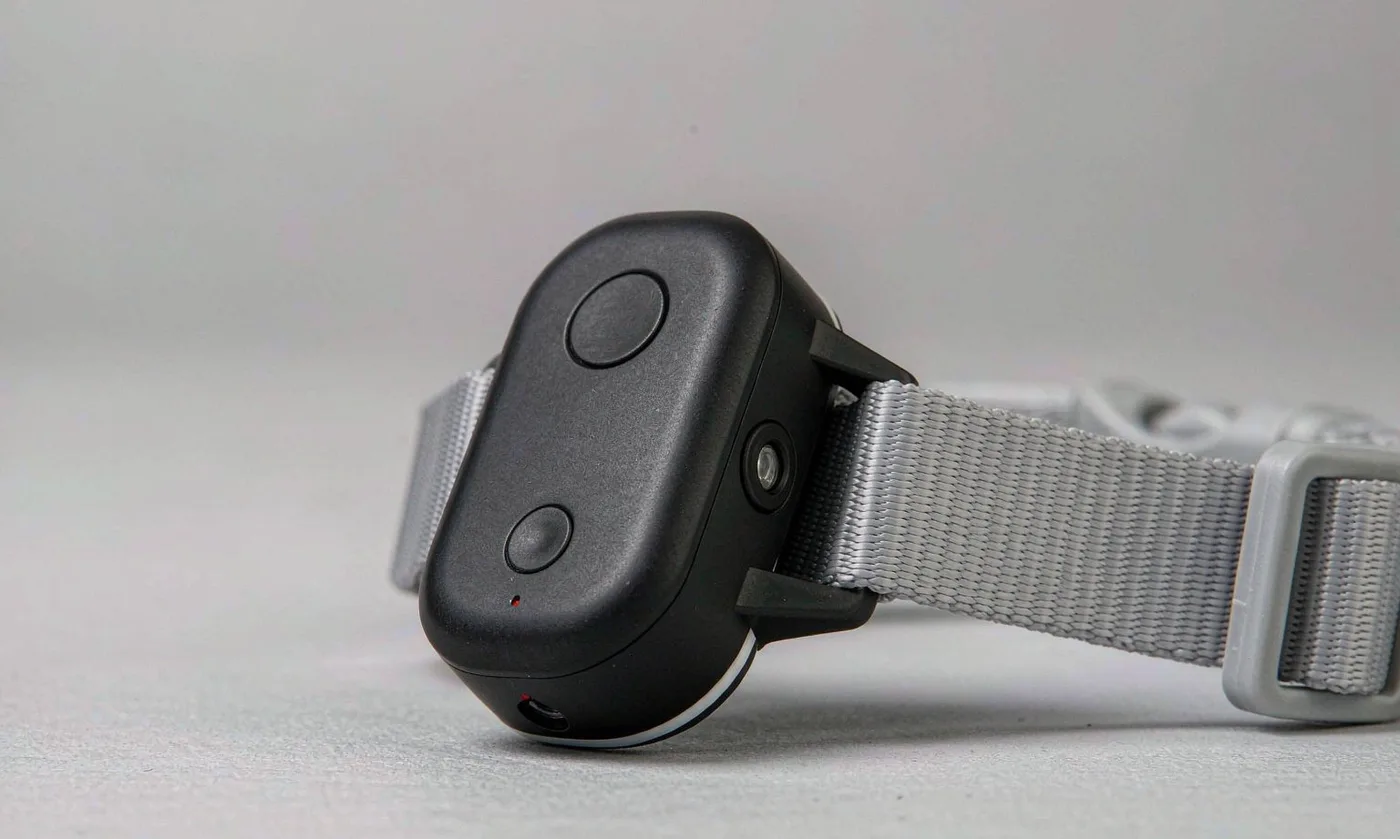
Reinforcement that also looks deliberate
The reinforcement patch behind a snap can be hidden or shown. Shown, as a visible panel or a contrast stitch outline around the snap, it reads as a design detail rather than as a repair. On a technical or outdoor product we often show it deliberately, because visible reinforcement communicates strength, which is exactly what a closure needs to communicate.
How the snap reads in a product photograph
A metal cap is the brightest object on most soft products, and in a photograph it becomes a highlight that pulls the eye. Used deliberately, that is a gift: a cap placed where the brand wants attention will take it, in every image, without any additional design work. Used carelessly, a polished nickel cap on a dark shell becomes the brightest pixel in the frame and dominates a composition that was built around the silhouette.
The practical guidance is to shoot the product with the cap in place before approving the finish, and to prefer a satin or brushed finish where the photography is close-cropped. A polished cap that looks right in the hand often reads as a hotspot under studio lighting, and the discovery is usually made after the pack shots have been booked.
Range Planning and Packaging
One snap design can serve an entire range, and it should. A single cap with the brand mark, produced in two or three platings, will cover a family of sizes and colourways with one tooling investment and one approval. That is the strongest economic argument for the snap over any other custom closure component.
The plating logic is worth planning deliberately. A single house finish across the whole range makes the family read as one brand; a finish that varies by tier, with antique brass on the premium line and nickel on the standard one, gives a visual hierarchy that customers understand without being told. Both systems work; mixing them does not.
Packaging interacts with a snap in a way that catches programs out. A folded product with a snap engaged can arrive with a permanent impression in the face fabric where the two halves have been clamped for weeks, and two products packed face to face can arrive with their snaps stuck together and their panels creased. A separator sheet in the pack prevents both, and it costs a few cents.
There is also a retail consideration. A snap is the only closure a customer can operate through packaging without damaging anything, and a product that clicks satisfyingly in the hand on a shop floor has an advantage no amount of shelf copy can match. We recommend specifying the pull force partly with that moment in mind, because it is often the first physical contact a customer has with the brand.
Ordering the components in the right sequence
Snap programs slip for a mundane reason: the caps are ordered after the panels are cut, because somebody assumed they were a stock item. They are not, and a stamped die plus a plating run sits outside the sewing schedule entirely. Order the caps with the shell fabric, not with the trim, and the program stays on the plan it was quoted on.
The same applies to the backing washers and the interlining patch, which are the two items most likely to be forgotten because neither appears on a costing sheet as hardware. Both are cheap and neither is substitutable at short notice.
Sampling, Cost and Inspection
A custom snap program runs two iterations: the first with a stock snap to resolve placement, reinforcement and panel behaviour, the second with the branded component to resolve appearance and force. At 6-10 working days per iteration, and with tooling released with the order, bulk stays at 35-50 days after approval.
Cost at 500 pieces is 0.55 to 2.10 dollars per unit for the snap assembly, depending on finish and on whether the cap is stamped with a custom die. Stamping tooling is modest, comparable to a zipper puller rather than to a buckle, and it is shared across the range.
Inspection to AQL 2.5 covers pull force measured through the production material stack, cap alignment against a square, setting integrity by pull test on samples from the line, plating consistency against the approved hardware card, and containment of the magnet element. Those five checks map to the five ways a snap program fails.
Two supporting components are worth a note. The snap should be paired with a closure strategy that names which opening it serves, and where a program needs silent, fast access across several panels, the engineering background in the magnetic closure design note and the flap geometry in the over flap guide are the two references that complete the picture.
The last administrative item is the hardware card itself. Cap, socket, washer and every other metal component, mounted together and signed off, is the reference inspection checks against, and it is the only document that settles a disagreement about whether a finish matches. Produce it at sampling and keep it with the tech pack.
Why brands source here
- Pet carrier programs run since 2014; founding team in sewn goods since 2004
- SGS-verified production floor of 4,950 m² with 137 workers across 7 lines
- Monthly capacity of 200,000 units, audited to BSCI and ISO 9001
People Also Ask
What is a magnetic snap closure?
A two-part fastener with a branded metal cap on one panel and a socket or magnet on the other, which engages by magnetic attraction and releases with a light pull.
Can you put a logo on a magnetic snap?
Yes, on the cap. Stamping is the most durable method; below 14 millimetres use a monogram or symbol rather than a wordmark.
Are magnetic snaps strong enough for a pet carrier?
For pockets and daily access panels, yes. For a primary opening, use the snap for convenience and a mechanical closure for security.
How fast is a snap to open?
About 0.8 seconds against 2.4 for a buckle and 3.1 for a zipper, which is why it suits panels opened many times a day.
Which plating lasts longest on a snap?
Polished nickel is the most durable. Gunmetal and black nickel wear at high points; antique brass improves with wear.
Does a snap need reinforcement behind the fabric?
Always. An interlining patch larger than the snap on every side plus a backing washer, or the snap will pull through.
Frequently Asked Questions
How fast is a magnetic snap compared with a zipper?
Roughly 0.8 seconds against 3.1 seconds for a zipper with a garage and 2.4 seconds for a side-release buckle, timed from hand contact to a usable opening.
Can my logo go on a magnetic snap?
Yes, on the cap, by stamping, etching, laser marking or debossed enamel. Above 14 millimetres a monogram or short wordmark is legible.
What plating finishes are available?
Polished nickel, gunmetal, black nickel, antique brass and matte chrome, matched to the other visible hardware on the product.
How strong should a snap be?
4 to 8 newtons on a light pocket, 10 to 18 on a structured flap, and 20 newtons with a secondary catch on a panel that must resist an animal.
Why does my snap release in a bag?
Because pocket flaps load in shear rather than in direct pull. Move the snap closer to the hinge or increase the force.
Is a stamped or a laser mark better?
Stamped. The mark is in the metal rather than on the surface, the die is cheap, and it is the most durable of the four methods.
How do you stop a snap pulling through fabric?
With an interlining patch at least 15 millimetres larger than the snap on every side, plus a backing washer behind it.
Can one snap serve a whole product range?
Yes. One cap design in two or three platings covers a family of sizes and colourways with a single tooling investment.
Do snaps work in cold weather?
With a cold test, yes. We test every snap program sold into a cold climate, because a snap that is stiff at minus 10 degrees gets abandoned.
How much does a custom snap cost?
USD 0.55 to 2.10 per unit at 500 pieces, depending on finish and whether the cap carries a custom stamped die.
Does the cap shape have to be round?
No. A rounded square, an oval or a brand-derived shape is achievable with stamping at little extra tooling cost.
What does AQL 2.5 check on a snap program?
Pull force through the production stack, cap alignment, setting integrity, plating against the approved hardware card, and containment of the magnet element.
Talk to QUANZHOU JUNYUAN BAGS about a pet carrier program: MOQ 500 pieces per colourway, samples in 6-10 working days, bulk production in 35-50 days under AQL 2.5 inspection.
Get a free quote Request a sample